
Tips and tricks for growing cut flowers from seed.
- Elizabeth
- Feb 8
- 7 min read
Where to grow your flowers.
In this article we will cover everything you need to know to successfully grow cut flowers from seed. You do not need a huge garden to grow your own flowers for cutting. A flower bed of 1m x 3m will give you a generous return, you can even grow in pots and containers. If you choose to grow a good selection of “cut and come again” annuals they will reward you with flowers all summer long.
More important than the space you have, is the soil that you will grow your flowers in and the position in your garden.
Choose a sheltered sunny spot for your plants to thrive, exposed, windy positions will damage plants and stunt growth, as will deeply shaded areas, although there are some versatile perennials that will happily sit in partial shade.
If possible, improve your soil by adding a good quality, peat free compost, just a few inches on the top will do the trick, you can either lightly hoe it in or let the worms get to work and take it down for you.
This compost will improve the structure & drainage of the soil and allow for roots to easily take hold. It will also provide vital nutrients for your young plants to get off to a strong start.
Adding compost and nutrients is especially important if you are growing plants in containers as the plants will fairly quickly use up the nutrients available (we cover this in a little more detail in the Feeding your Flowers section below).
Seed sowing for cut flowers and looking after your seeds and seedlings.
How to sow.
A healthy plant starts with a good seed sowing practice. Choose good quality seed trays that will last a few years, and if possible that come with a tray for watering and a propagation lid.
Make sure they are clean before you use them, especially if they have been used before, give them a wash to remove any bacteria and slug eggs. Seed trays come in a variety of sizes, if you can, choose deep trays, this will give your seedlings more room and may prevent you having to pot them on.
Use a good quality, peat free compost, and fill your pots to the top, don’t underfill them, if the seeds germinate a few cm down the pot, it can prevent light getting to them evenly.
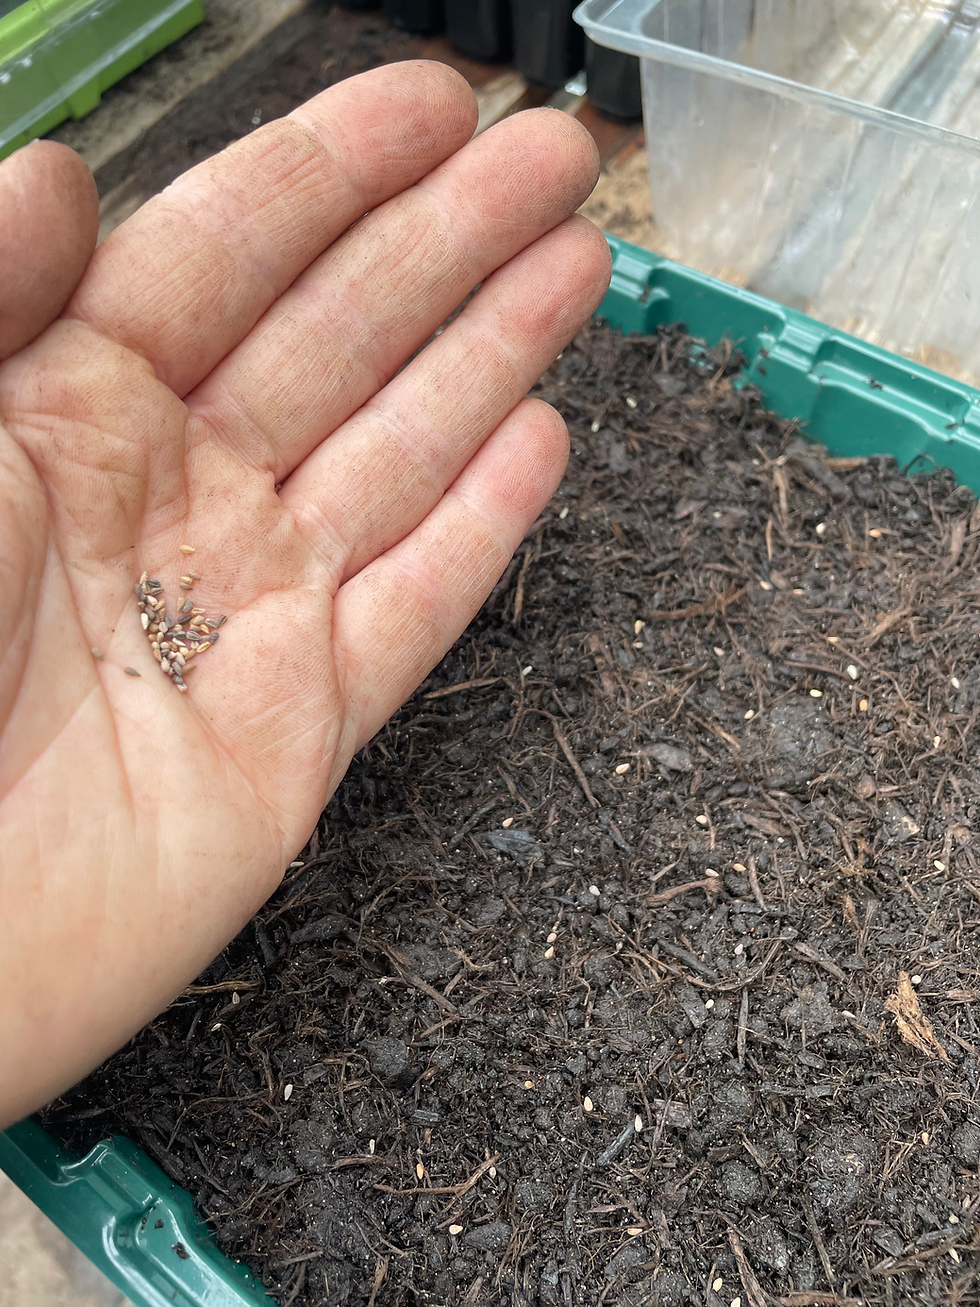
Sow a couple of seeds in each compartment, this can be tricky with tiny seeds like Foxgloves, however taking some time here and sowing carefully will prevent overcrowding and can also prevent you having to thin them out if too many germinate in the same compartment, it will ensure your seedlings get off to the best possible start.
Gently press the seeds into the compost making sure they make good contact with the surface.
Most seeds require a light covering of compost however always check the back of your seed packet for more information on the seeds you are sowing. Each seed has its own specific requirements, so always read the packet instructions.
Give the seeds a water, always water from the bottom up to prevent a hard crust forming on the top of the compost, this happens when the particles in the compost stick together from the repeated water pressure and form a solid seal which prevents water penetrating.
Watering from the bottom also prevents damage to tiny seedlings when they germinate, even the gentlest water from above can damage tender new seedlings.
When you have finished sowing, your seed trays will need to be kept safe from extreme weather and pests. Ideally place your seeds trays in a greenhouse or cold frame to protect them from frosts, keeping a lid on them until they germinate (and for a while after) can help prevent mice eating the seeds and slugs nibbling the new shoots.
I protect mine at night with lids, and then remove the lids during the day to provide ventilation and to help avoid damping off. (More on damping off later).
If you do not have a greenhouse or cold frame you can place your seed tray on a sunny windowsill, but seedlings grown inside can quickly grow tall and leggy and bend or lean towards the source of light (a process called Phototropism).
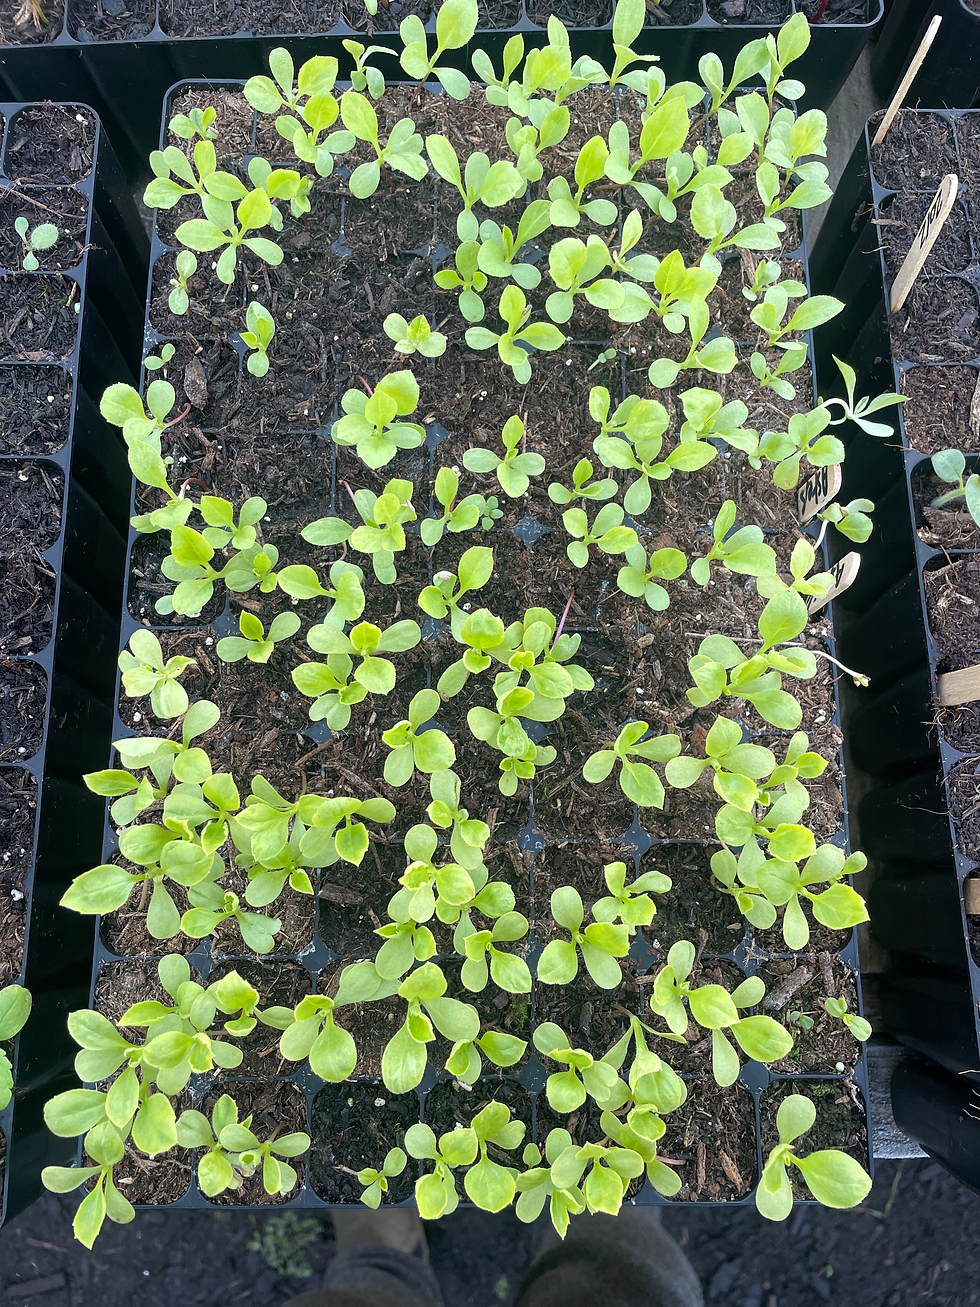
When seedlings first emerge, the seed contains everything they need for their first stage of life. The emerging seedlings are full of a growth hormone called auxin which makes them grow very tall, very quickly.
When seedlings reach sunlight, the hormone auxin is switched off and the leaves unfurl and photosynthesis can begin, turning sunlight to food.
Plants placed on a sunny windowsill appear to bend towards the light, this is caused by the growth hormone moving to the shady side of the stem, telling the plant it is not yet tall enough to reach the light, so the seedling continues to elongate.
Turning the plant to straighten does not counteract this process, it just makes it tall and straight! The only way to stop “leggy” seedlings is to get them under overhead light, this will switch the auxin off and the seedlings will stop growing upwards and instead start to put their energy into forming leaves.
A cloudy day outside will still provide more intense light than artificial light inside and crucially the light distribution is even. So, when possible, on mild, dry days, take your seed trays outside to a sheltered spot and let them bathe in that lovely natural light.
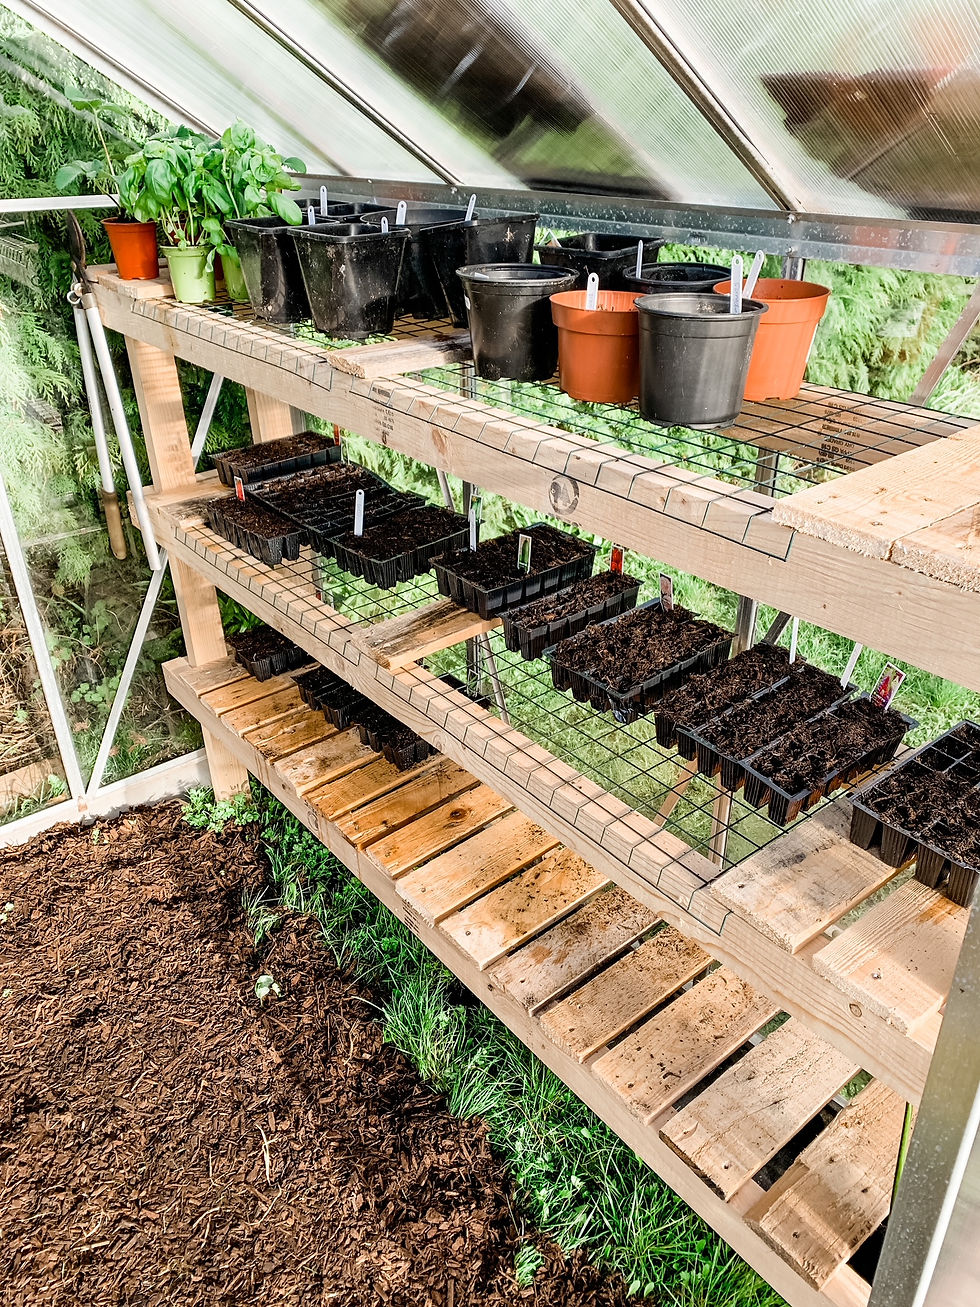
Greenhouses.
There’s nothing quite like being able to garden year-round in a greenhouse you can actually stand up in. But we all have to start somewhere, and even a small, portable greenhouse can make a real difference, giving your seedlings a bit of shelter and a head start.
If you have the space, it’s well worth investing in one. The zip-up versions you’ll find in most DIY stores are surprisingly effective and don’t cost the earth—an easy, affordable way to get started.
If you do decide to get started with a portable greenhouse, or invest in a more permanent glass structure, remember to site it where it will receive sunshine, especially in Spring and Winter. Lightweight greenhouses will need weighting down.
Ventilation is important, I open the greenhouse door most days to allow fresh air in, and on hot days open all doors and windows and if necessary, protect young plants from the risk of scorching by moving them outside and into a cooler spot.
Watering.
Try to water your seeds from underneath, rather than overhead. If you use seed trays that come with a water tray, you can fill the water tray with a little water and stand the seed tray in it for an hour or so.
Keep the compost damp but not too wet or the seeds could rot, an easy way to tell if they need a little water is to lift the tray, if it feels light then the compost is on the dry side so give them a little water.
Do not over water, if the top of the compost seems dry, poke the tip of your finger in a little, chances are it is still moist below the surface.
Do be vigilant on warm days, seedlings can quickly dry out in a greenhouse on a warm spring day, so make sure you check them often and always water in the evenings not in the heat of the day. Open your greenhouse doors on warm days to prevent overheating and provide ventilation.
Your seedlings will need protection from cold snaps and frost, particularly your tender annuals.
They are vulnerable until the last frost dates so we never plant out our tender annuals until we are confident that the last frost dates have passed, usually late May where we are in Manchester (UK). Until that time, they will be kept in the greenhouse and given additional protection from fleece at night if there is a frost.
We may plant out some perennials, such as Lupins and Achillea and hardy annuals such as Sweet Peas, Daucus and Ammi Majus from the beginning of March, but we will cover them with fleece at night if a frost is forecast.
If your seedlings are in a greenhouse, it is worth remembering that the temperature inside can get very hot, even in Spring, and seedlings can quickly dry out and scorch. So, on warm, sunny days make sure the doors and windows are opened to provide ventilation.
Protecting from pests.
From our experience, we recommend using seed trays that come with lids so that the seeds and seedlings are protected from mice and slugs.
We regularly have mice in the greenhouse, and they love to dig through freshly planted seed trays for a tasty seed or two, Sweet Peas are a particular favourite!
Mice tend to lose interest when the seeds have germinated, however, new, tender seedlings are loved by slugs, so a secure lid is practical way to keep both pests off in the early days.
Please note if you do use lids on your trays, they can get very warm and need regular ventilation, we usually remove our lids in the day, especially if it is warm, and put them back on at night.
Protecting from pests when your seedlings are planted out is a little more difficult.
We do not use any chemicals on our flowers, so we try and work with the natural food chain.
We encourage birds to the garden; birds are our biggest asset in the battle against a whole host of slugs and bugs. Frogs and Toads are also your friends when it comes to eliminating slugs.
There is a vast array of insects that are huge allies in the garden, wasps, beetles, ladybirds, centipedes all do battle with some of the most common garden pests, such as greenfly and thrip.
Putting out bird feeders, creating a small wildlife pond (it can be as small as a washing up bowl).
Creating a rotting wood pile (again, it doesn’t have to be big), will all help to encourage beneficial wildlife into your garden.
We like to encourage Bees into the garden, in the UK there are 270 different species of bee. While primarily known for their role as the best pollinators, some bee species also prey on pest insects or parasitize their nests.
Sprinkling crushed eggshells, sprinkling chilli powder and planting garlic amongst your plants can all help keep pesky pests away.
We hope you enjoyed this article and found the advice useful, look out for our next one which will be all about hoe to prick out and pot on your seedlings.


Comentários